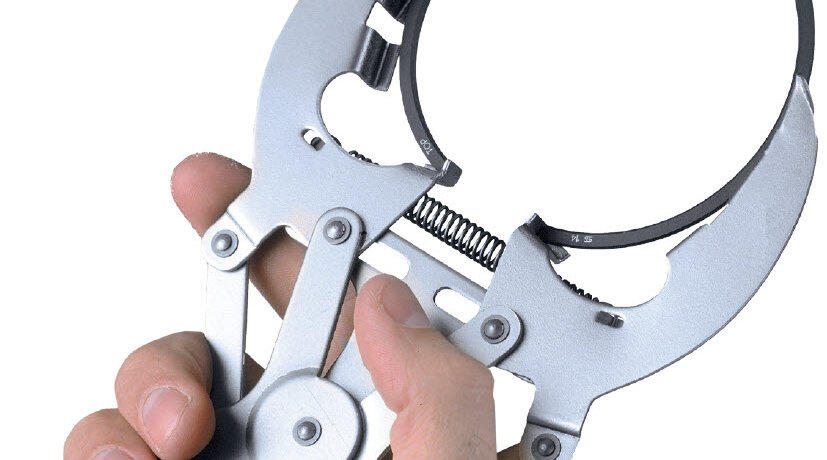
Mounting and disassembling piston rings
Information on use
Can you fit piston rings by hand? What can happen? Why should the groove side under no circumstances be damaged when removing carbon? How and in what sequence should piston rings be installed; find out here.
- Clean used pistons carefully to remove stuck-on dirt. Ensure in particular that the ring grooves are free from carbon and dirt. If necessary, clean oil drainage bores with a drill or other suitable tool.
- Take care not to damage the groove sides when removing carbon. The bottom groove side is a sealing area. Damage due to scratches can cause high oil consumption or increased blow-by gas emission during engine operation.
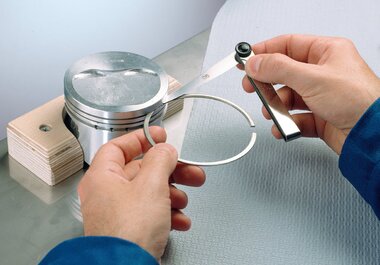
- Always use piston ring pliers for mounting and dismantling piston rings. Other tools, such as wire loops or screwdrivers, damage the piston ring and the piston.
- Never pull on the rings by hand (exception: steel cup segment type double bevelled oil control rings). There is not only a risk of the ring breaking, bending and being subjected to excessive strain, but also the risk of injury when the ring breaks or due to sharp ring edges.
ATTENTION
 |
Pulling on the piston ring quickly by hand without breaking it may demonstrate the skill of the mechanic, but usually also damages the piston ring during the mounting stage. |
- Never pull the ring over the piston in the way shown. If the ring bends and no longer lies flat in the groove, it will no longer rotate in the groove, becomes worn on one side or no longer seals correctly. Even worse for rings with a molybdenum coating, however, is flaking or breaking of the molybdenum layer. If the loss of the sliding layer does not occur during installation, then it will definitely happen during engine running. The sliding layer comes loose, damages the piston and cylinder and the piston eats away the cylinder bore, because hot combustion gases blow through between the piston and the cylinder wall. The loose parts lead to damage on the piston and cylinder sliding surfaces.
- Avoid pulling the piston rings on and off unnecessarily. The rings bend slightly during each mounting. Do not pull off the rings of pre-assembled pistons to measure them, for example.
- Observe the installation sequence of the rings: First mount the oil control ring, then the second compression ring, followed by the first compression ring.
Observe the installation markings. “Top” means that this side must point upwards to the combustion chamber. If you are unsure or if no “Top” mark is present, mount the ring with the writing pointing upwards.
Check whether the rings can be freely (turned) rotated in the ring grooves.
Check whether the ring disappears completely into the ring groove over the entire circumferenc, i.e. the sliding surface of the ring must not protrude over the piston skirt. This is important because, if there is no groove base clearance (incorrect ring or groove base carbonised), the ring function is not guaranteed.
When installing two-part oil control rings, always note the position of the spiral expander. The ends of the spiral expander must always be opposite the ring joint.
With three-part rings, the correct position of the expander spring is essential to guarantee the oil scraping function. Before the piston installation, always check the position of the expander springs even with pistons with pre-assembled rings. During transport the spiral ends are untightened and can slip one above another. Both colour markings at the spiral ends must be visible. If they are not visible, the spiral has overlapped and the ring is not working. All ring joints of the three-part oil control ring (the two steel rails and the expander spring) must be turned against each other by 120° each.
Turn the piston ring joints of the installation-ready piston so that the piston ring joints are turned roughly 120° towards each other. This helps the piston or the piston rings during the first engine start. Reason: The compression is slightly lower during the first engine start, as the piston rings are not yet run in. Turning the joint ends towards each other prevents too much blow-by gas from being created during the first engine start, causing the engine to start up poorly.
