Assembly instructions for turbochargers
Specialist safety and installation instructions
Specialist installation of a turbocharger requires maximum precision, technical know-how and strict compliance with all safety requirements. The following instructions provide a comprehensive overview of the relevant work steps, fitting instructions and potential causes of errors. This prevents damage and ensures a reliable initial start-up.
Safety precautions
- The work must only be carried out by qualified personnel.
- Always observe the applicable legal regulations, safety regulations and the engine manufacturer's instructions.
- Do not remove packaging and transport closures, e.g. plugs on the turbo, until immediately prior to installation.
- Prevent impurities, oil particles or foreign bodies from entering the lines, in particular the oil feed line, the return line, the intake line and the exhaust line.
- Ensure sufficient ventilation in the area surrounding the vehicle.
- Collect escaping oil and coolant using suitable cloths. Contaminated cloths must be disposed of in an environmentally friendly manner.

Fitting instructions
Before installing a new turbocharger, make sure it is suitable for the engine you are working on. To do so, compare the turbocharger version number with the specifications provided by the engine or turbocharger manufacturer. Improper installation can cause significant damage to the engine and turbo – the manufacturer's instructions and the specific repair manual must always be observed.
Particular attention should be paid to the cause of the fault in the old turbocharger. This must be clearly identified and rectified before the new turbocharger is installed to avoid consequential damage. Common causes of failure include poor crankcase ventilation, defective components such as servo motors or vacuum pumps, contaminated oil, a damaged oil filter, loss of power due to blocked air filters or a blocked DPF system.
Only use brand-new, compatible gaskets, as liquid sealants are unsuitable and can cause leaks. In addition, all components of the oil lines (both the oil feed line and the return line) must be free of impurities. The appropriate tool should be kept close to hand and the tightening torque must be set exactly in accordance with the manufacturer's instructions. Also check the threads and flanges for damage or wear.
Prior to installation, the engine oil and the air filter must be replaced in accordance with the manufacturer's instructions. Then add fresh engine oil to the turbocharger's oil inlet holes and oil feeds. Manually rotate the turbine shaft several times to ensure initial lubrication. After all connections have been correctly fitted, idle the engine for about 30 seconds without pressing the accelerator. This controlled initial start-up ensures that a stable oil pressure is built up and that no faults occur with the ignition.
After the initial start-up, connect a scan tool, reset the fault code memory and carry out a test run. During this time, the boost pressure should be monitored continuously. Finally, the entire charged air system, including all components, is carefully checked to ensure tightness and correct installation.

Possible causes of failure
- Defective electro-pneumatic valves or a faulty vacuum pump
- Problems with the EGR system, leaks in the engine ventilation or in the crankcase
- Leaks in the vacuum system
- Lack of oil, contaminated oil or faulty oil lines
- Foreign bodies in the intake system, blockages in the DPF or catalytic converter
- Blocked air filter, leaks in the exhaust manifold or charge air cooler
- These issues can result in loss of power, noise or permanent faults – with damage to multiple components as a possible consequence
Note on assembly kits
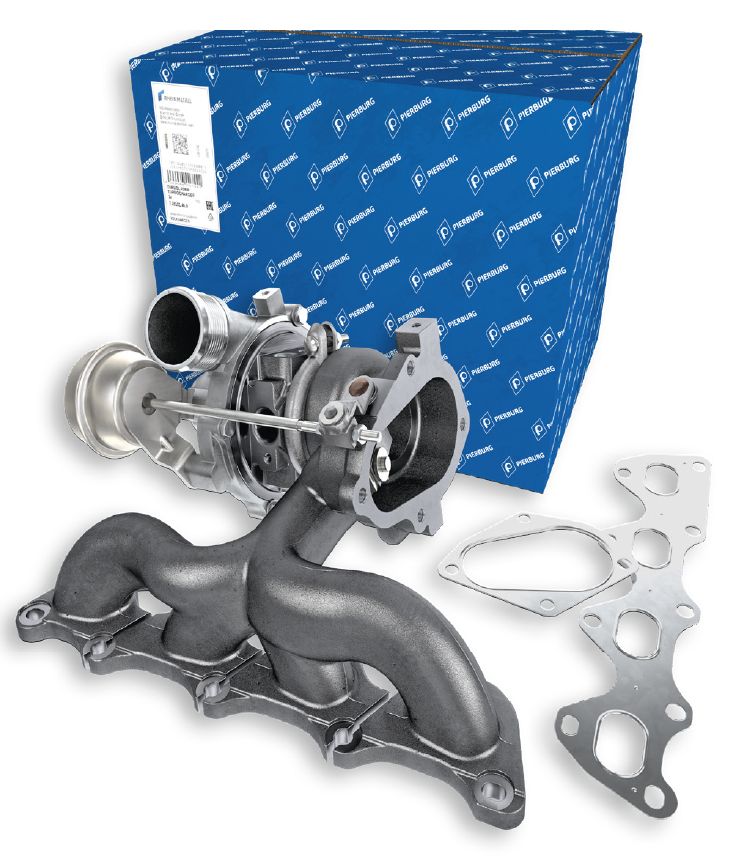
For the installation, use complete and tested assembly kits to correctly integrate all necessary seals, screws and, if necessary, additional parts such as lines or sensors.
Download
Product groups
This might also interest you