Two-sided edge wear
DESCRIPTION OF THE DAMAGE
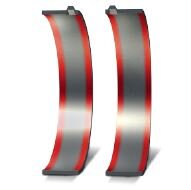
- Bright, light stripes of wear on both sides at the edge of the bearing
- Identifiable signs of material fatigue or initial rubbing marks possible in the area of the edge wear
- Overheating phenomena such as discolouration possibledue to thermal stress or carbon deposits in the area of the edge wear on the bearing back
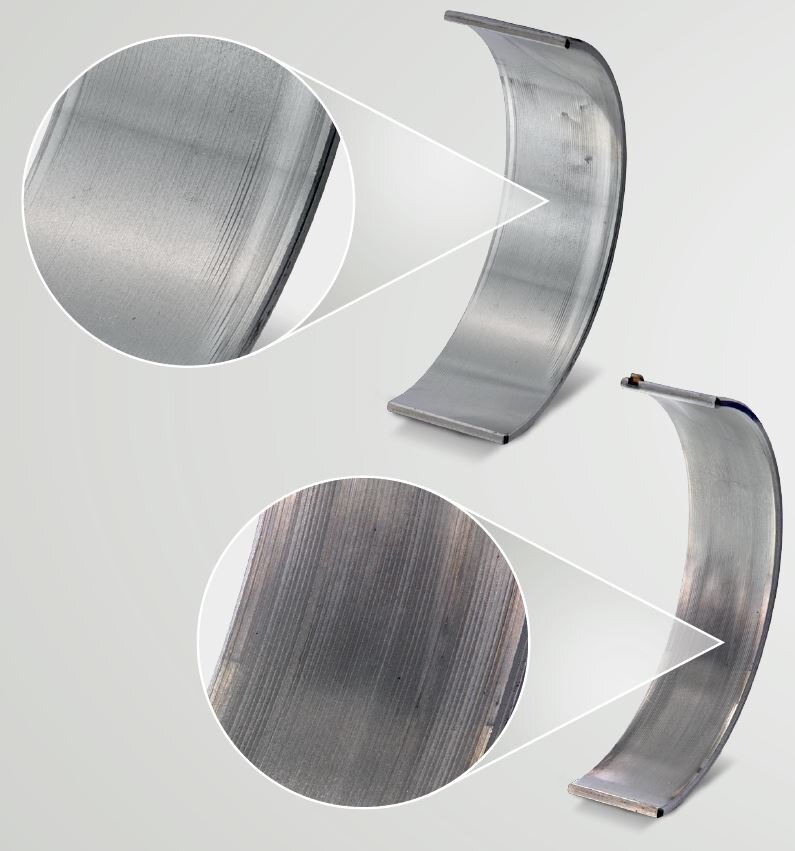
Cap-side conrod bearing shell steel-aluminium composite
Rod-side conrod bearing shell steel-brass composite with sputter coating
Two-sided edge wear in the early stages – wear in the form of adaptive run-in wear.
Rod-side conrod bearing shell steel-brass composite with sputter coating
Two-sided edge wear in the early stages – wear in the form of adaptive run-in wear.
DAMAGE ASSESSMENT
The lubrication gap at the bearing edge is too low, meaning that the lubricating film is not fully stable and mixed friction occurs locally. If the shortage of lubrication continues, the temperature increases due to the frictional heat that results. This could result in overheating damage such as dark discolouration of the bearing back. The shortage of lubrication continues to intensify due to the increasing temperature level and the process reinforces itself until the first initial rubbing marks occur and fatigue damage occurs in this area due to increased surface pressure. Two-sided edge wear occurs very often in the main load area of a bearing. Depending on the intensity of the wear, this can be considered normal, and does not impair the functioning.
POSSIBLE CAUSES FOR THE DAMAGE
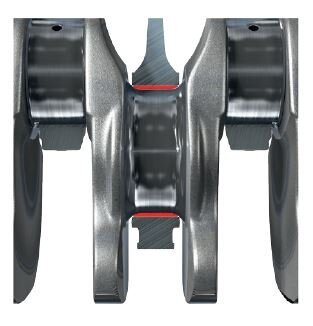
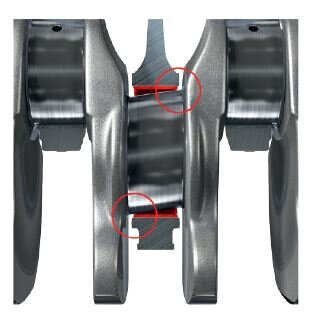
- Concave journal form (Fig. 1)
- Concave bearing bore (Fig. 2)
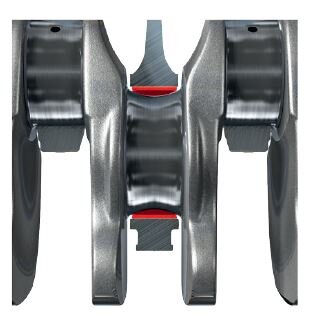
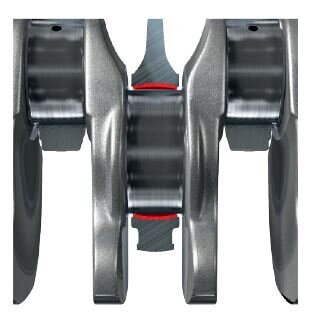
- Too large a rounding radius between the journal and crank web (Fig. 3)
- Too large an axial clearance, maladjustment of the connecting rod
- Journal ground at an angle (Fig. 4)
Remedy
Bearings that exhibit edge wear can continue to be used depending on their wear condition. If these damage symptoms intensify after a few hours of operation, measures to determine the cause should be taken:
- Check for correct geometry of the crankshaft: dimensions, roundness, cylindricity, ripple, surface roughness
- Check the bearing line bore is correct: dimensions, roundness, cylindricity, surface
- Balance crankshaft during installation and check strain on the shaft
- Check alignment of the main bearing bore: during assemblyof an engine, always make sure to use the specified tightening torques and bolt tightening sequence – the engine must be sufficiently cooled during operation asdeformations may also occur due to temperatures that are too high
- Check connecting rods for angularity before installation