Fitting of piston rings
Information on use
What do I need to watch out for when installing new piston rings? When is it worth replacing only the piston rings? How do you clean used pistons? Up to what ring height clearance can you continue using the piston? What do the markings on the piston rings indicate? Why should the piston ring joins always be turned before installing the pistons? You can find the answers to these questions here.
Step 1: First check whether the interacting sliding parts of the piston rings (piston and cylinder liner) can be reused
0:14 – 0:52
The sealing system made up of piston rings, pistons and cylinder liners is only as good as its weakest component. This means that if the piston ring is replaced but the piston or the cylinder liner are worn, the desired result will not be achieved.
Step 2: Carefully clean the used pistons
0:52 – 1:45
Ring grooves must be free of carbon and dirt. Clogged oil drainage bores should also be cleaned with a drill or another suitable tool.
Perform a visual inspection of the piston ring grooves: Small scratches, dirt or unevenness can lead to rapid wear of the new piston rings. Attention: Do not damage the groove sides when cleaning carbon.
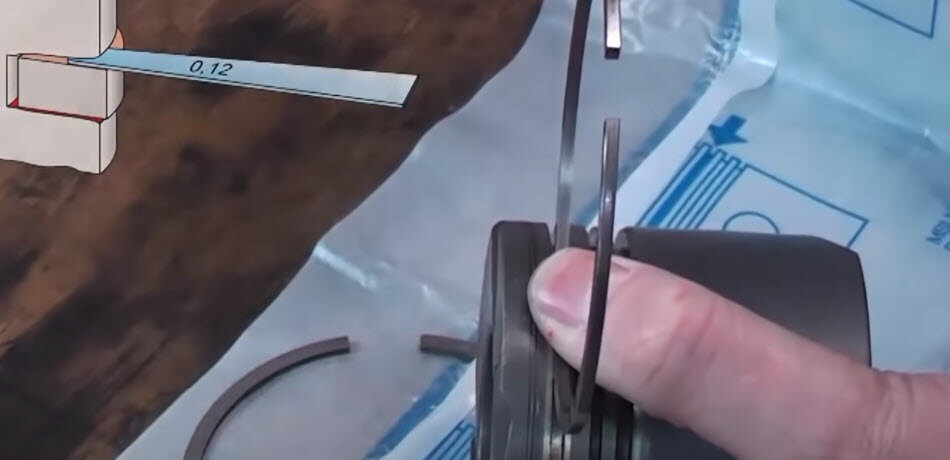
Step 3: Check the used piston
1:45 – 2:22
If new piston rings are to be fitted on a used piston, the ring height clearance determines whether the piston can be reused. The piston ring is inserted in the cleaned piston ring groove and measured with a feeler gauge. In the video you can see the ring height clearance up to which a piston can be reused.
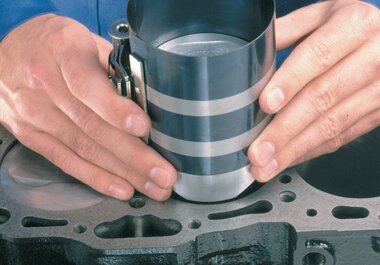
Step 4: Fit the piston rings
2:22 – 5:19
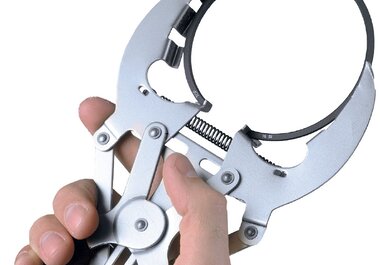
Always use piston ring pliers when fitting and removing piston rings.
Attention: Do not fit piston rings by hand - this can damage the piston ring during installation. Make sure that the piston ring is not bent. Bent rings that no longer lie flat in the groove do not turn in the groove, wear on one side and do not provide a proper seal. When installing, also pay attention to the markings on the piston rings. Finally, after installation check whether the piston rings can move freely in the ring grooves.
Step 5: Check the position of the piston rings before installing the pistons
5:19 – 5:43
Once all piston rings have been installed, before installing the pistons turn the piston ring joints so that they are around 120 degrees apart. Turning the joint ends towards one other prevents too much blow-by gas from being created the first time the engine is started, causing the engine to start up poorly.